
Connect Claude to Talvi
Add the Talvi AI connector and Talvi MCP Workflow skill, then explore your sources.
Two pieces: connector and workflow skill
The Talvi AI connector gives Claude access to the server’s tools. The Talvi MCP Workflow skill explains how to use those tools: answer from Talvi first, retain sources, open the relevant material, and use file-focused questions or Nuggets when requested.
The skill does not contain your access key and does not create the connection. Set up both for the intended experience. This walkthrough uses Claude’s Customize screens; availability depends on your Claude account and workspace settings.
Add the Talvi AI connector
- Get your MCP access URL and user-specific access key from your administrator.
- In Claude, open Customize → Connectors → Yours.
- Select Add → Add custom connector.
- Enter Talvi AI as the name and the MCP access URL provided by your administrator as the server URL.
- Select Continue and complete the confirmation and Talvi authorisation steps below.
- Return to Yours, open Talvi AI, and check its tools.
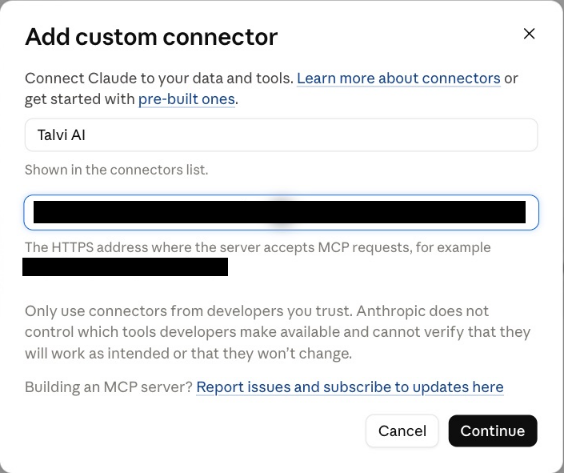
Your administrator will provide the MCP access URL; the address is hidden in these screenshots. If Claude says the URL already exists in your organisation, open the existing connector instead of adding a duplicate. A working connection does not need to be disconnected to inspect its configuration.
Confirm the connection in Claude
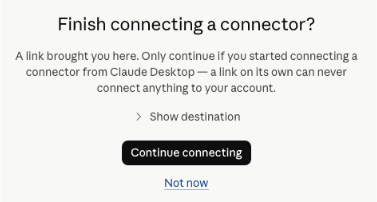
When connecting from Claude Desktop, your browser may show Finish connecting a connector? This confirms that you intended to start the connection. If you started this setup, select Continue connecting. Show destination lets you check the destination against the access URL provided by your administrator. Choose Not now if you did not start the connection.
Authorise Talvi with your MCP access key
The Talvi authorisation screen opens next. Paste the MCP access key provided by your administrator into Talvi MCP access key, then select Connect Talvi. Use the key issued for your user and the intended AI Agent, rather than your Claude password or the MCP access URL.
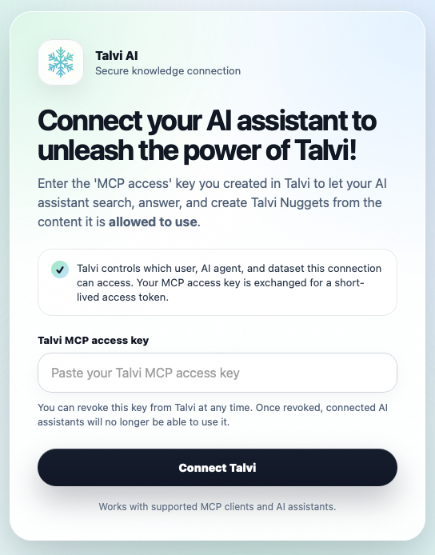
Talvi exchanges the key for a short-lived access token. The connection uses the user, AI Agent, and dataset associated with that key. Once the flow completes, return to Claude and review the tools. See MCP access keys and authorisation for access and revocation details.
Review tool permissions
Open Customize → Connectors → Yours → Talvi AI. The page shows the server URL and the tools Claude discovered. Ask talvi with source viewer and Open source file viewer appear as interactive tools in this example.
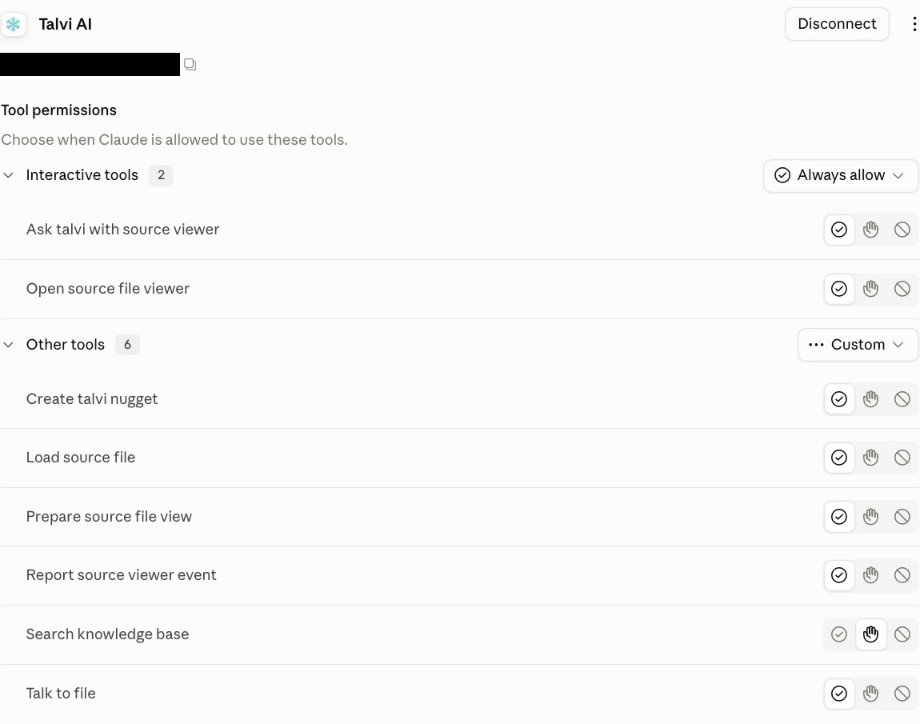
Claude offers Always allow, Needs approval, and Blocked controls. Choose permissions appropriate to the work. The screenshot shows an existing configuration, not required defaults. Nugget creation saves generated content; it is reasonable to keep approval for that action if you want to review each request.
Download the Talvi MCP Workflow skill
In Talvi, open AI Agents → Access keys for the intended agent. Under Claude Skill, select Download Talvi Skill .zip. The download contains the Markdown instructions and supporting example files.

For other assistants, see Copilot Studio workflow setup and ChatGPT skill packaging.
Keep this workflow guidance aligned with your Talvi server version. A downloaded example client configuration is a reference; the connector setup above is the route shown in this guide.
Upload and inspect the skill in Claude
- Open Customize → Skills → Yours.
- Choose Add → Upload skill.
- Select the downloaded skill package, review the scan result, and complete Upload.
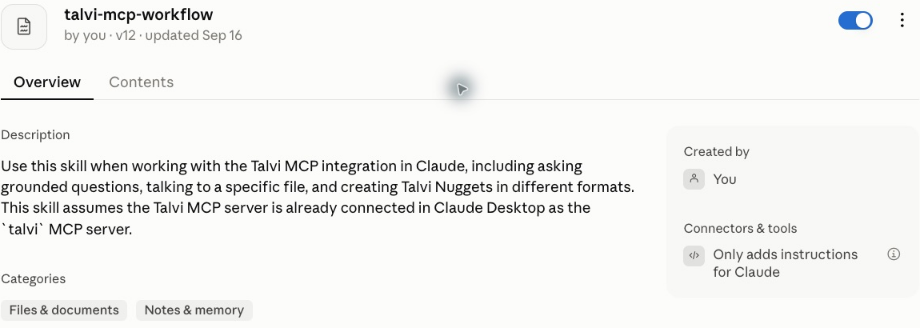
- Open talvi-mcp-workflow and ensure Enable skill is on.
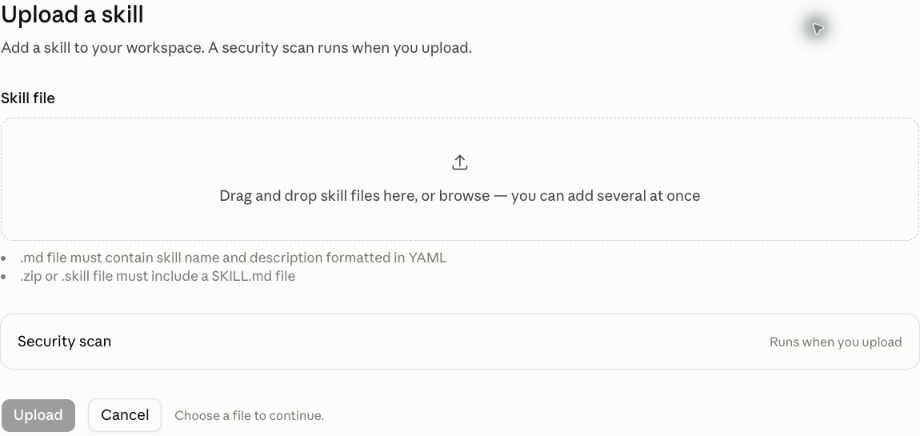
Claude also accepts a standalone Markdown file with YAML name and description metadata. If an archive is rejected because of its entry filename, extract the supplied Skill.md and upload that Markdown file directly; archives require a SKILL.md entry. Do not add credentials to the instructions.
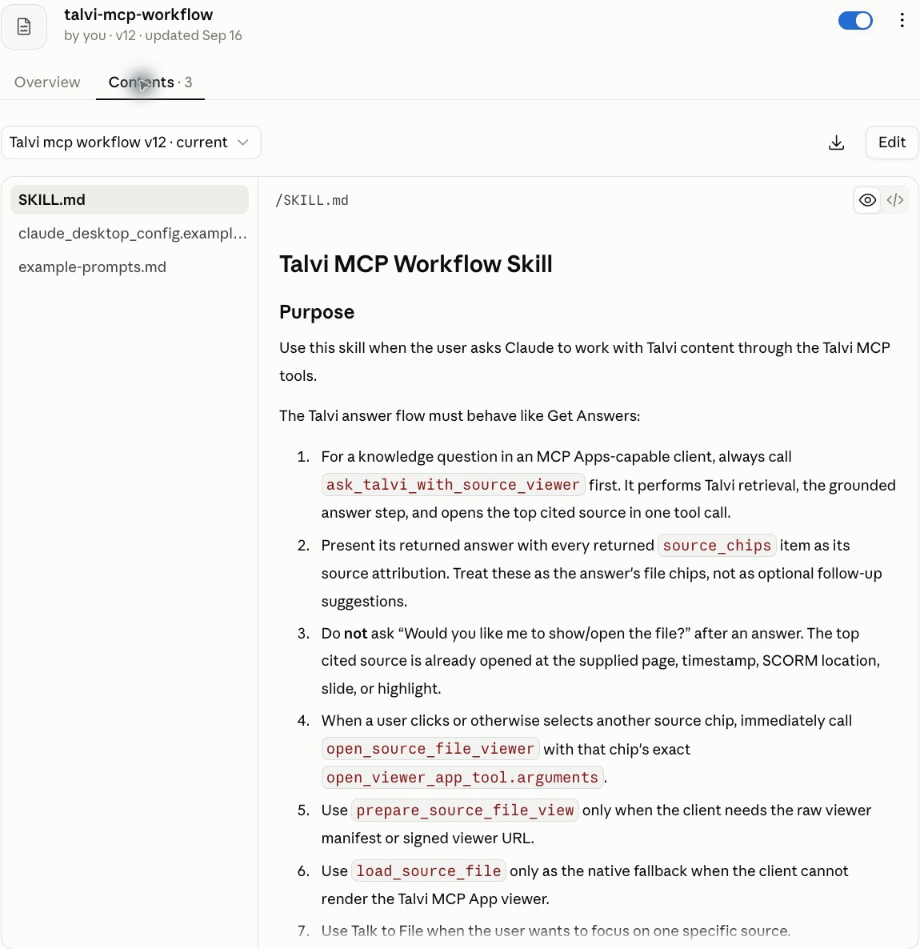
Overview describes the skill’s purpose and enabled state. Contents shows its version, SKILL.md, and supporting files. Select a file to inspect it; Preview and Code offer different views of the same content.
Try a source-backed question
Start a new conversation with Talvi available and ask:
Use Talvi AI to explain what information a payslip should include. Show the supporting SCORM course at the relevant section.
Look for a Talvi AI tool call, a source-backed answer, and the source viewer. The course’s own menus and navigation remain usable inside Claude. Expand requests a larger view when supported; Open provides the source-opening route.
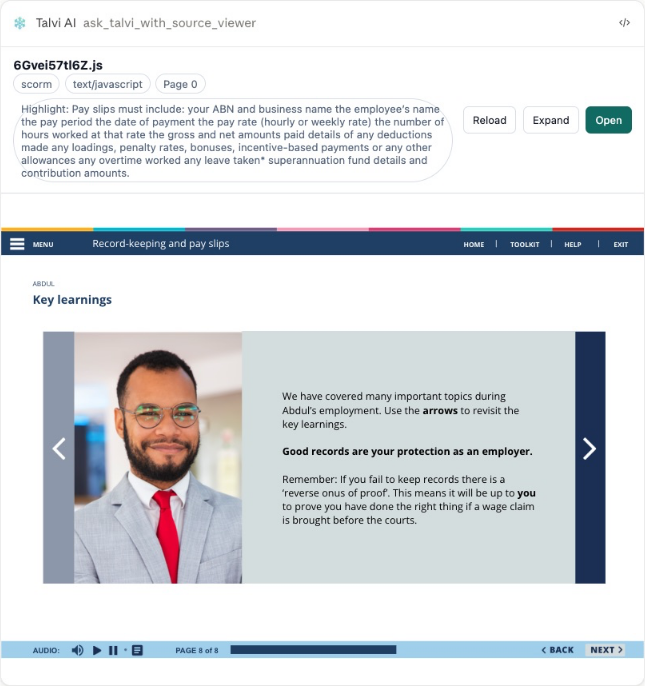
Check the visible course section against the returned location. A package can restore a saved position, so its opening slide may need adjustment with the course controls. See SCORM navigation.
Other useful prompts are “Use Talvi to explain how to handle large cash transactions and open the video at the cited timestamp” and “Use Talvi to explain scaled dot-product attention from Attention Is All You Need and show the PDF page.” These depend on those sources being available to the connected agent. If Talvi reports no evidence, check the key’s dataset and file availability; Claude’s own explanation is not a retrieved Talvi source.
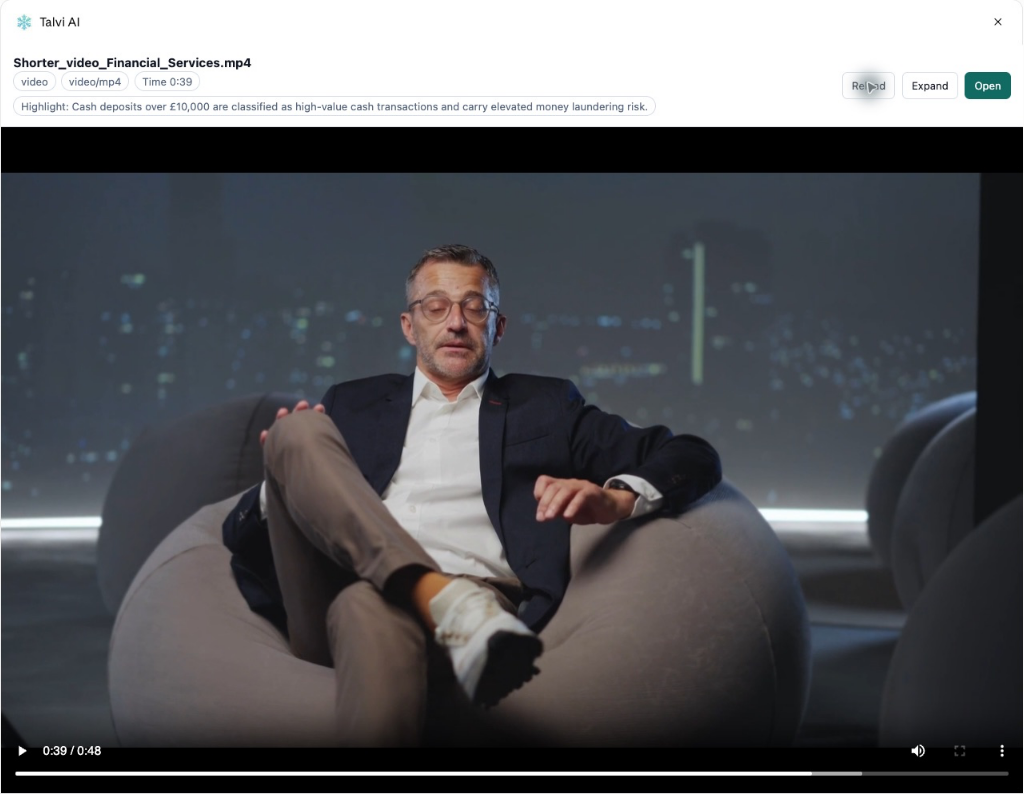
The video example shows a source location of 0:39 and the player at that same moment. Use Play to continue and hear the surrounding context.
Then try “Answer this follow-up using only that file.” For reusable learning, specify a format: “Create a checklist Talvi Nugget on this topic.” See the tool and source guide.
When the viewer does not appear
Confirm that the Talvi tool returned a source and that the client permits the interactive tool. Allow the source to finish loading, then use Reload or request it again if the viewing link has expired. A client without an interactive MCP Apps view can use load_source_file for available native content. Claude Code and Claude Desktop can present the same tool results differently; a working text response does not guarantee the same visual player.