
View & edit custom AI Agents
Maintain an agent’s mission, audience, skills, conversations, and reports.
Open an existing agent
Choose More.. → Super Admin → AI Agent Studio and open a card under Custom AI Agents. The detail page shows the agent’s Role, Input dataset, and Output, followed by its editable settings and connection details.

Check these three values first: the role shapes the working style, the input supplies the knowledge, and the output determines where the agent is used. The available actions depend on your permissions and the agent’s output type.
Edit the name and mission
Use Edit beside the agent name to rename it. Select the Description of AI Agent Task Prompt area to edit the mission, then choose Save or Cancel when those controls appear.
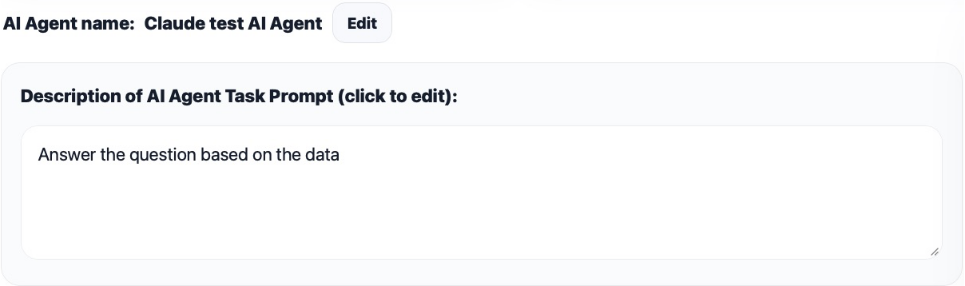
Write instructions for the intended users and purpose. Updating the mission changes how future answers are guided; it does not replace the underlying dataset. Use Data Import when the source knowledge needs updating.
For supported mentoring agents, the journey document can be updated through Mentor journey document and Save Journey. For Talvi chat outputs, settings can also control whether Talvi Nuggets and the AI agent header appear in Get Answers.
Manage skills
Select MCP Tools to inspect active servers. View tools shows the operations available from a server; Add selects it for this agent. Remove a selection if it is no longer needed, and choose Save MCP Tools to apply the set. The current selector supports up to four servers.
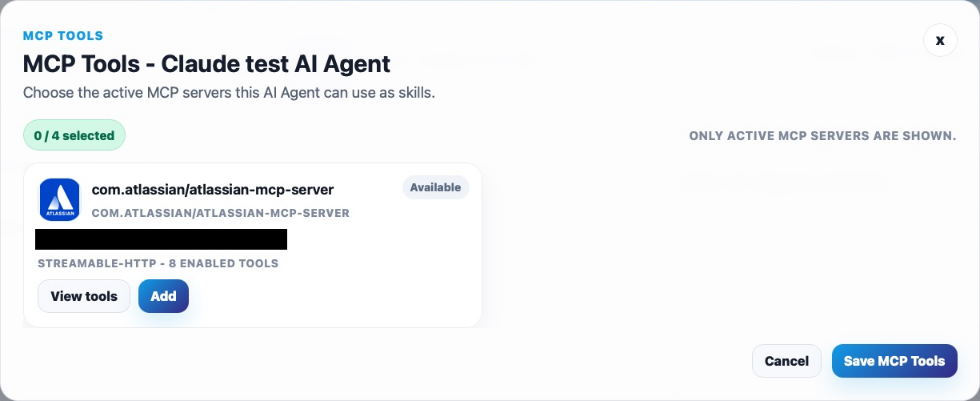
Connections, OAuth, activation, and individual tool switches are maintained in MCP Tool Store. This optional functionality depends on the deployment and agent’s capabilities.
Assign User Access
Open Assign User Access, select the users who should be able to use this agent, and save the selection. Select all and Deselect all affect the displayed selection, so check it before saving.
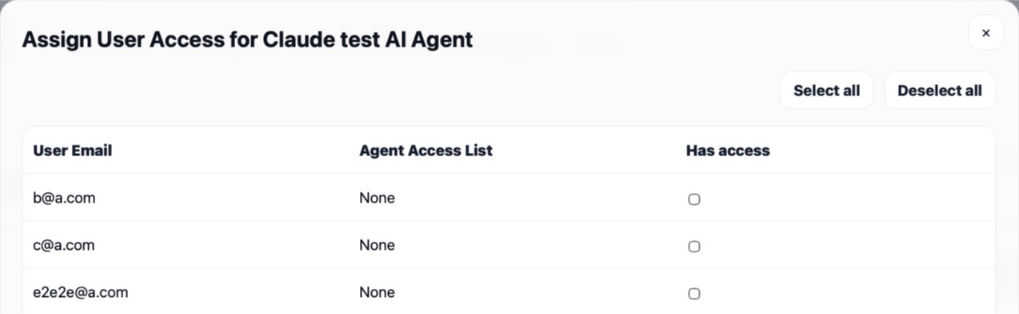
The detail page also supplies relevant login URLs, admin URLs, and the agent ID with copy controls. Use values from your own deployment. For private client credentials, see Access keys; for website access and appearance, see embedded agents.
Review conversations and reports
View Chat History
Open View Chat History, select the start and end dates, and choose Get Chat Logs. Use the available topic filters to focus on a subject. Read the question and answer together to understand what the user was trying to accomplish.

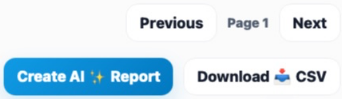
Move through results with Previous and Next. Download CSV exports conversation data for further review. Treat downloaded conversations according to your organisation’s handling rules.
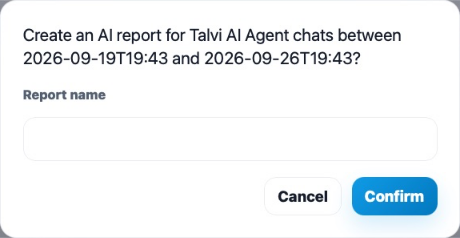
Create AI Report
Choose Create AI Report from chat history. Check the date range and selected filters, enter a useful report name, and confirm. For example, a name such as “September payslip questions” makes the report easier to find later. Report generation analyses the selected conversation set; it does not add knowledge to the agent’s dataset.
View Reports
Open View Reports to find generated reports. The list shows the report name, creation date, date range, topic filters, conversation count, and status. Use View or Download when the report is available. An empty list means no reports are listed for this agent yet.

View Feedback
View Feedback brings together the agent’s feedback. Summary counts distinguish good and bad votes, chat and Nugget feedback, general feedback, and issue review status. The table provides context such as date, type, vote, topic, comments, user, and chat reference.

Use feedback alongside the corresponding conversation and source material. See feedback and logs for the wider dashboard workflow.
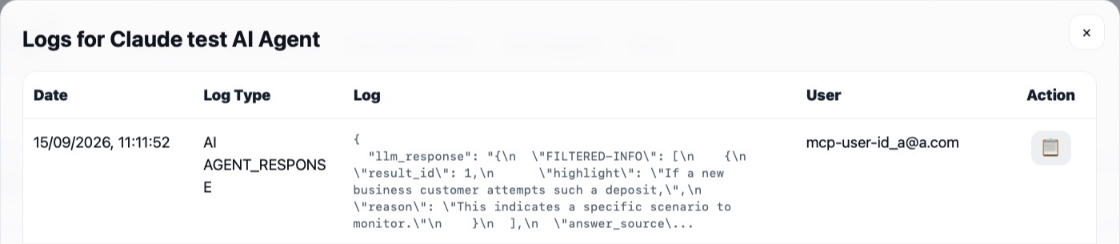
View Logs
View Logs opens activity associated with this agent. Review the timestamp, log type, message, and user to trace an event. The copy action helps capture the relevant entry for investigation. Logs explain system activity; chat history is usually the better starting point for reviewing an answer’s usefulness.
Remove an agent
Delete AI Agent opens a confirmation. In this flow, deletion makes the agent unusable immediately while retaining its associated data; the agent can be activated again later. Check assigned users and connected clients before confirming. The default agent is protected from deletion.
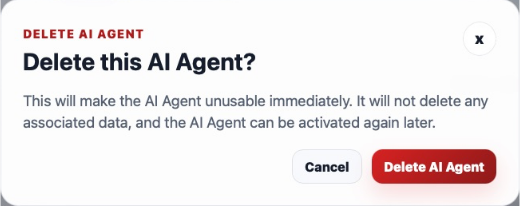
Choose Cancel to leave the agent available. Hiding a source file is a separate action in Files Management.